In this article, we will show you how to install OpenSpeedTest (https://OpenSpeedTest.com) in Docker (https://docker.com) on a Raspberry Pi. If you are starting completely from scratch, first go check out my other blog post titled Raspberry Pi 4 Boot with USB. We will be starting right where that article left off.
If you find this article or any of my other articles helpful, you can always:
First, you will want to ensure that your Raspberry Pi is completely up to date:
sudo apt update && sudo apt upgrade -yIf you just set up the Raspberry Pi based on the other article that I linked to, you shouldn’t have any updates, but it’s always a good idea to check anyway.
Next, let’s install Docker. Docker allows you to run applications and operating systems in ‘containers’, which makes them very easy to upgrade as well as portable so that you can move them between servers and scale them as needed. What you can accomplish with Docker is overwhelming, so we aren’t going to cover much of Docker here, but I highly suggest checking it out in more depth.
Install Docker
curl -sSL https://get.docker.com | shThat should take less than 1 minute. Once Docker is installed, we need to give our Pi user rights to manage Docker containers by adding it to the ‘docker’ group:
sudo usermod -aG docker piNext, we are going to install Portainer (https://portainer.io). Portainer is an open source container management GUI. Basically, it gives us a graphical user interface for managing our Docker instance (and other Docker servers as well if you want). Oddly enough, Portainer itself is going to be installed in a Docker container, so the Docker management GUI lives in Docker. It’s like Docker inception.
Install Portainer. This first step pulls down the Docker image:
sudo docker pull portainer/portainer-ce:linux-armThen install Portainer in Docker:
sudo docker run --restart always -d -p 9000:9000 -v /var/run/docker.sock:/var/run/docker.sock -v portainer_data:/data portainer/portainer-ce:linux-armBoth of these commands together should take less than a minute to run. Now that Portainer is installed, you can browse to it by opening http://[Raspberry Pi IP address]:9000. You can find your Raspberry Pi IP by running:
ip aIf, for instance, your IP address is 192.168.200.122, the Portainer interface will be found at http://192.168.200.122:9000. Put that into a browser, and you should be the Portainer setup wizard.
*** NOTE: By default Portainer uses HTTP, not HTTPS, so if it isn’t opening for you, make sure you’re using http:// instead of https://.
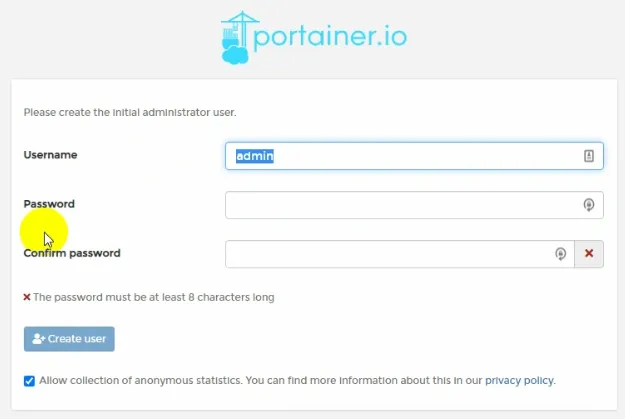
The first thing you will see is Portainer asking you for your administrative credentials. You can set your Portainer administrative credentials to whatever you want, but for ease of use, I set mine equal to my Pi user: username Pi, and then the password that I use for the Raspberry Pi.
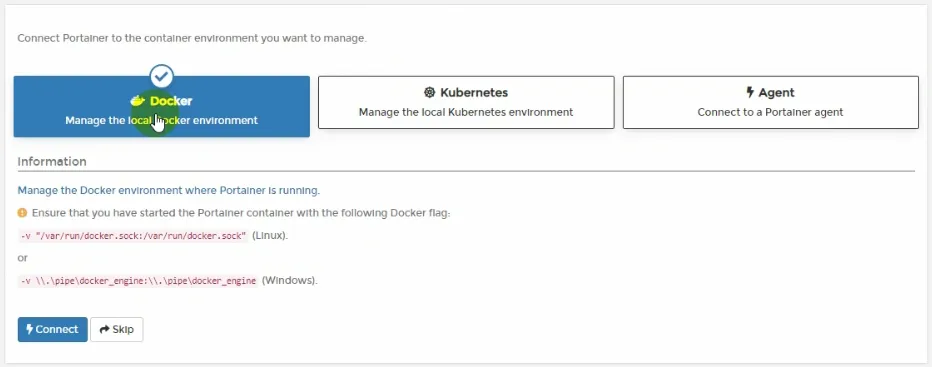
You will first be asked which Portainer instance you want to connect to. In our case, we want Portainer to use the local Docker instance, so click on ‘Docker’ and then click ‘Connect.’
This will now bring you to the Portainer dashboard where you should see 1 image, and 1 container (which would be Portainer itself). If you click on ‘Containers’ you can control your container instances (stop/start, change ports or networking, etc.). We aren’t going to dive into Portainer in this article, but it’s a nice add-on for this project.
Now onto installing OpenSpeedTest. Drop back to SSH and run:
sudo docker run --restart=unless-stopped --name=openspeedtest -d -p 80:8080 openspeedtest/latestThat’s it, you’re done. If you now browse to http://[Raspberry Pi IP Address] you will get to OpenSpeedTest, and simply click ‘Start’ to run the speed test.
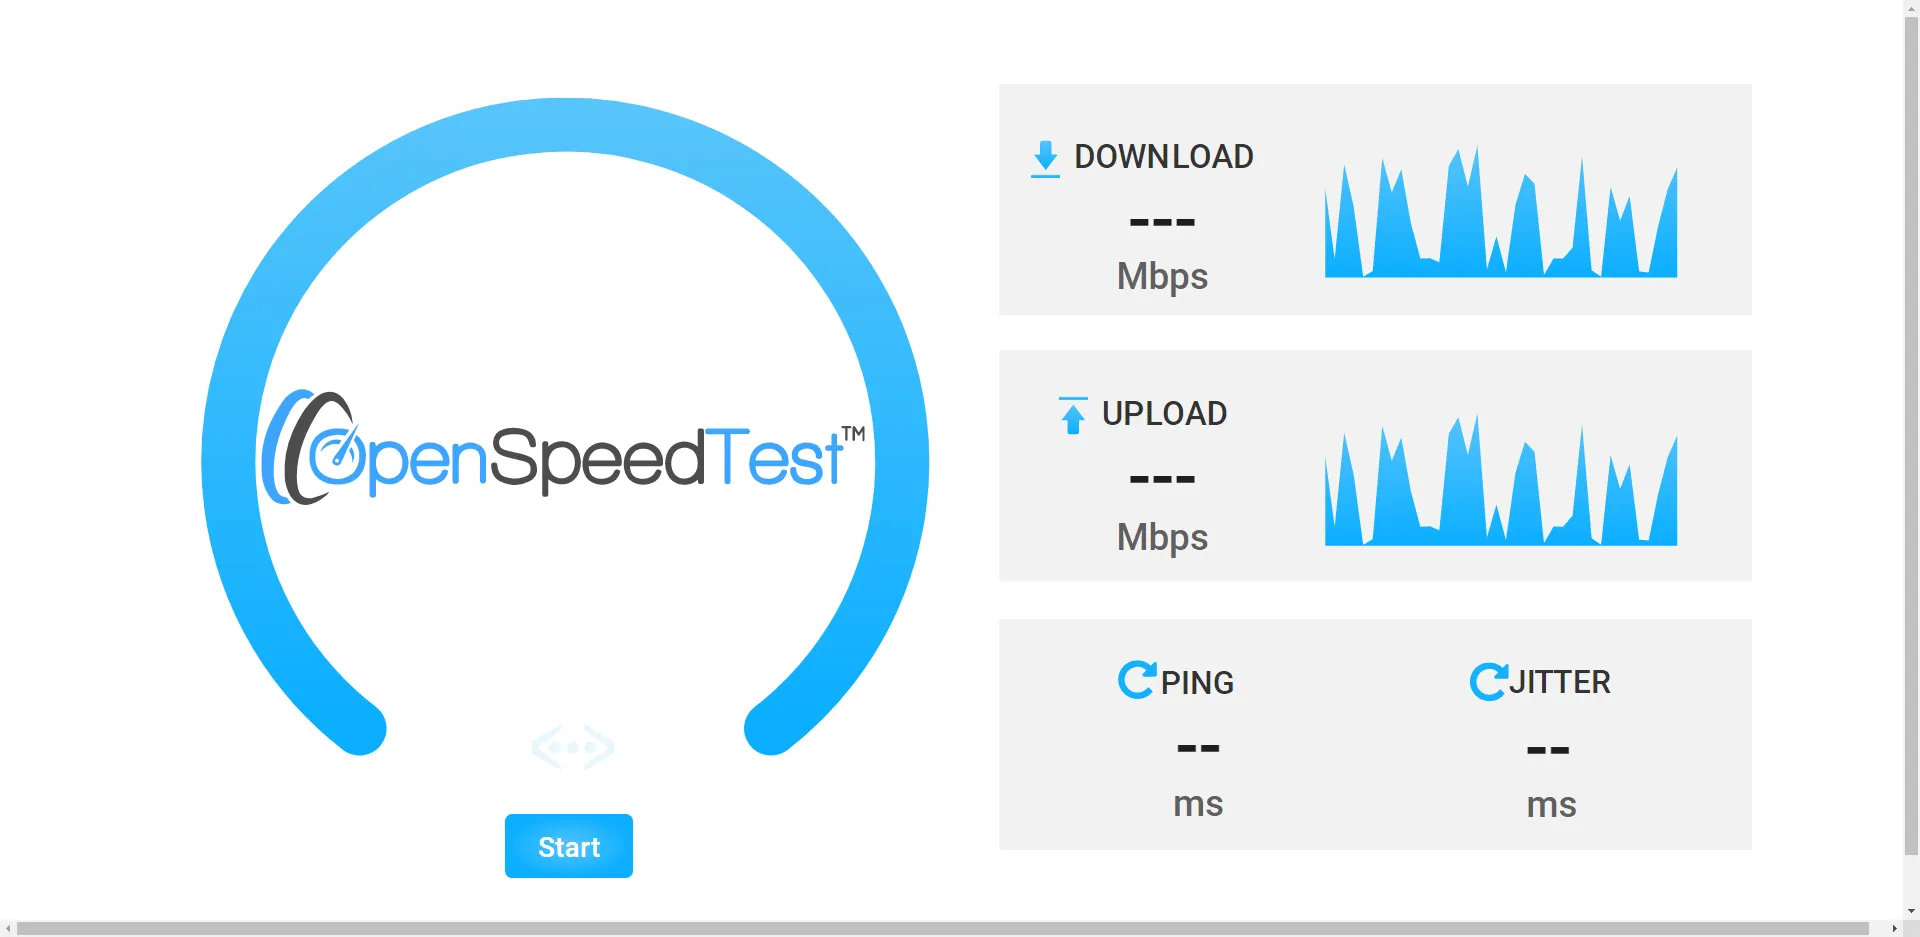
One thing that I have found in my testing is that the max I’m able to get when speed testing against the Raspberry Pi is ~750Mbps download and ~950Mbps upload, or in other words, I seem to get full Gigabit speeds on the upload, but only about 3/4 speed on the download. Not sure what the bottleneck is, but it shouldn’t be the M.2 drive. Perhaps the shared USB bus that connects the M.2 drive? If you have any insight into that, let me know in the comments below and I’ll update the blog post accordingly!
Thanks for checking out this tutorial! If you found it helpful, you can always: